Spring Decorating Ideas DIY: 25 Projects That Look Expensive
Looking for spring decorating ideas DIY style that actually look expensive?
The truth is, the most beautiful spring homes aren’t created with big budgets — but with simple, intentional styling choices.
In this guide, you’ll discover 25 spring decorating ideas DIY lovers swear by — all budget-friendly, easy to recreate, and designed to instantly elevate your space.
Why Spring Decorating Ideas DIY Work Better Than Store-Bought

There is a reason that the most-saved interior images on Pinterest often feature imperfect, handmade or repurposed elements: authenticity photographs beautifully. A mass-produced centerpiece looks exactly like what it is. A bunch of wildflowers you gathered, arranged in a bottle you saved, looks like a moment.
DIY spring decor wins for three reasons: it costs less, it looks more authentic, and it can be customized to your exact palette and space.
- Natural materials (dried grasses, fresh flowers, linen, wood) always photograph better than synthetic alternatives
- Imperfect arrangements look intentional; perfect ones often look forced
- Handmade items add a layer of meaning that bought items cannot replicate
- DIY forces you to edit — you can only use what you have, which prevents the over-decorated look
Quick Spring Decorating Ideas DIY (Under $10 & 15 Minutes)
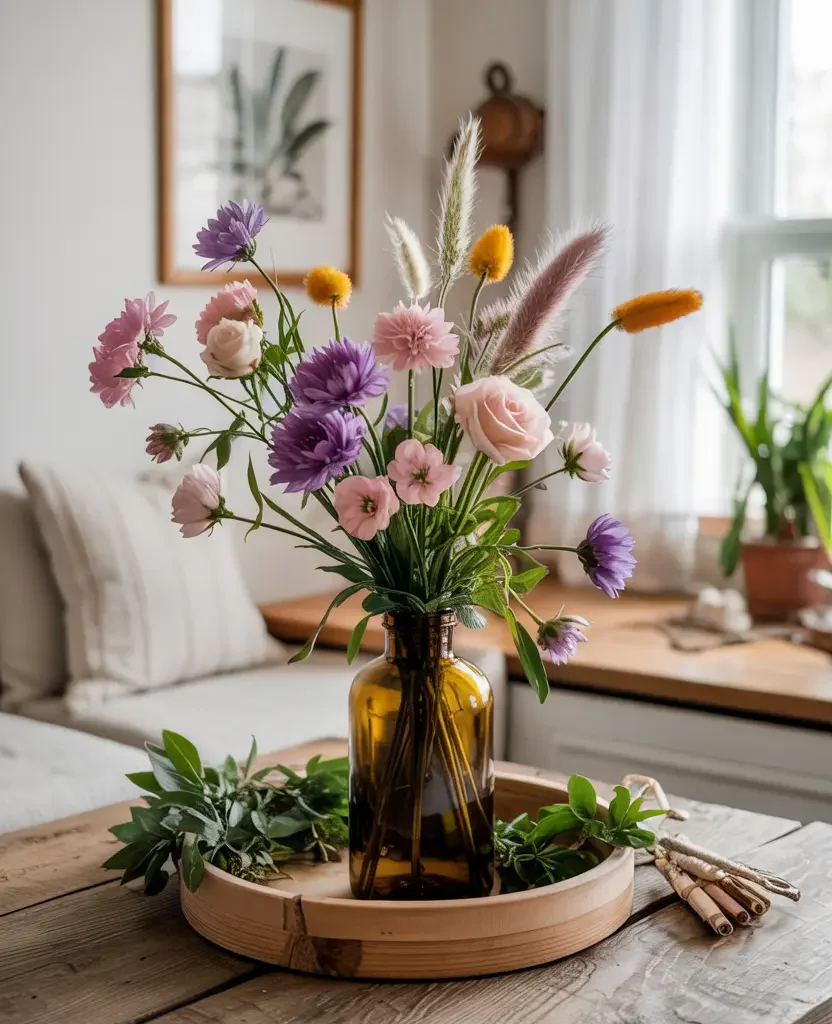
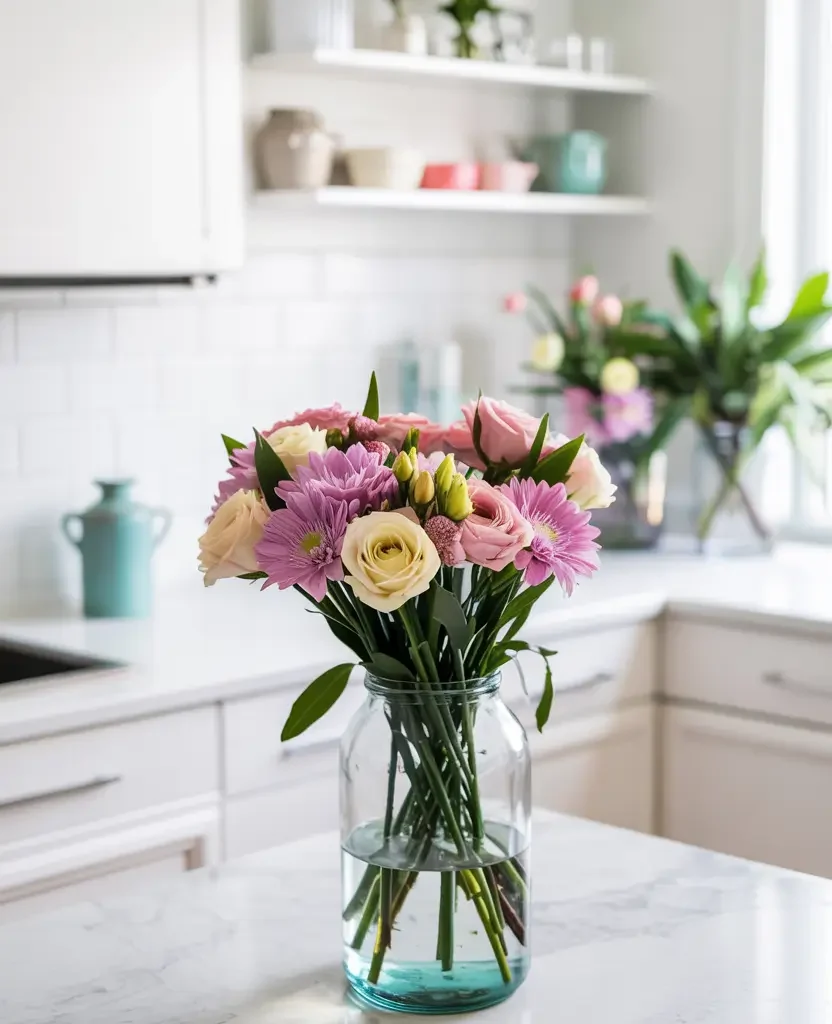
Project 1: Grocery Store Flower Arrangement ($8–12, 10 minutes)
- Materials: one bunch of flowers from the grocery store, a vessel you already own
- Step 1: Remove all packaging and cut stems at a 45-degree angle under running water
- Step 2: Remove any leaves that would sit below the waterline
- Step 3: Choose your vessel — a glass bottle, a ceramic jug or a wide-mouth jar all work
- Step 4: Place two-thirds of stems in the center, then add the remaining stems at angles around them
- Step 5: Remove any stems that look crowded or cross other stems
- Result: a professional-looking arrangement for under $12
Project 2: Dried Botanical Wall Hanging ($5–10, 20 minutes)
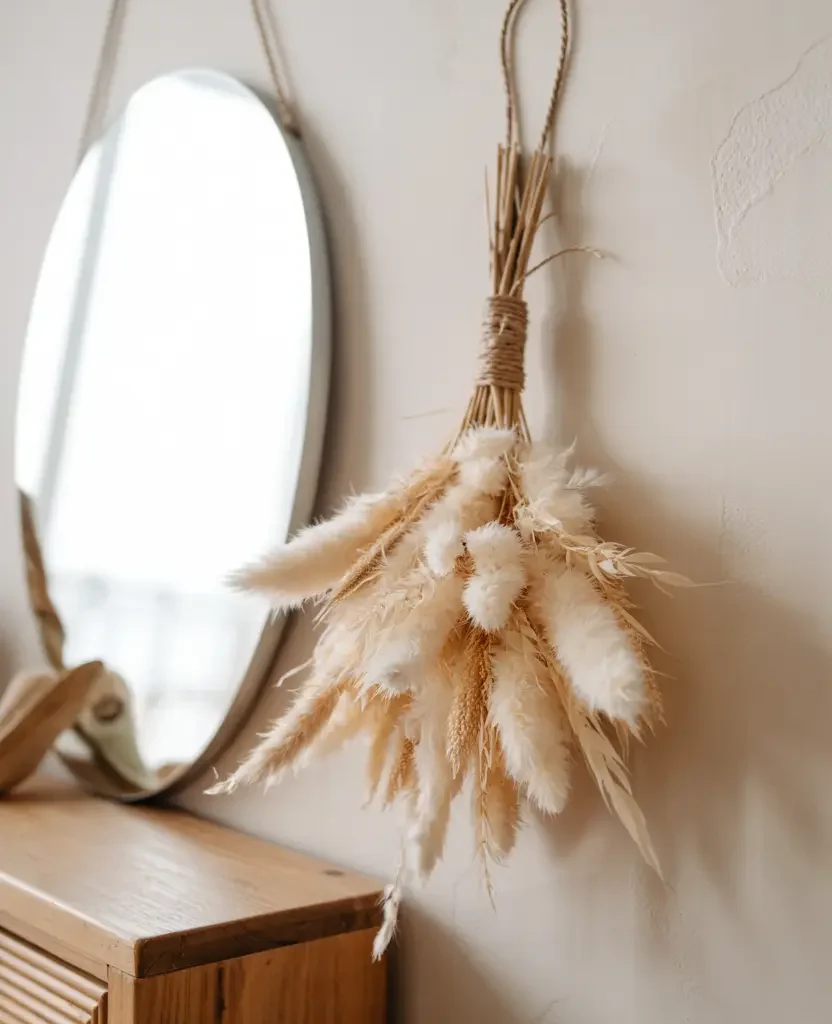
- Materials: dried pampas or lavender ($5–10), a stick or dowel, twine
- Step 1: Gather stems into a bundle and secure tightly with twine at the top
- Step 2: Tie the bundle to the stick or dowel, leaving stems hanging below
- Step 3: Add a loop of twine to the stick for hanging
- Step 4: Hang on a blank wall section — looks best above a bed, sideboard or fireplace
Project 3: Spring Coffee Table Tray ($0–8, 10 minutes)
- Materials: a tray you already own (or a cutting board), three items from around your home
- Step 1: Clear the coffee table completely
- Step 2: Place the tray off-center on the table
- Step 3: Arrange three items on the tray: a candle, a small vase with one stem, a small book
- Step 4: Leave space between items — do not fill the tray
Easy Spring Decorating Ideas DIY for a Weekend Refresh
Project 4: Dried Botanical Wreath ($10–18, 45 minutes)
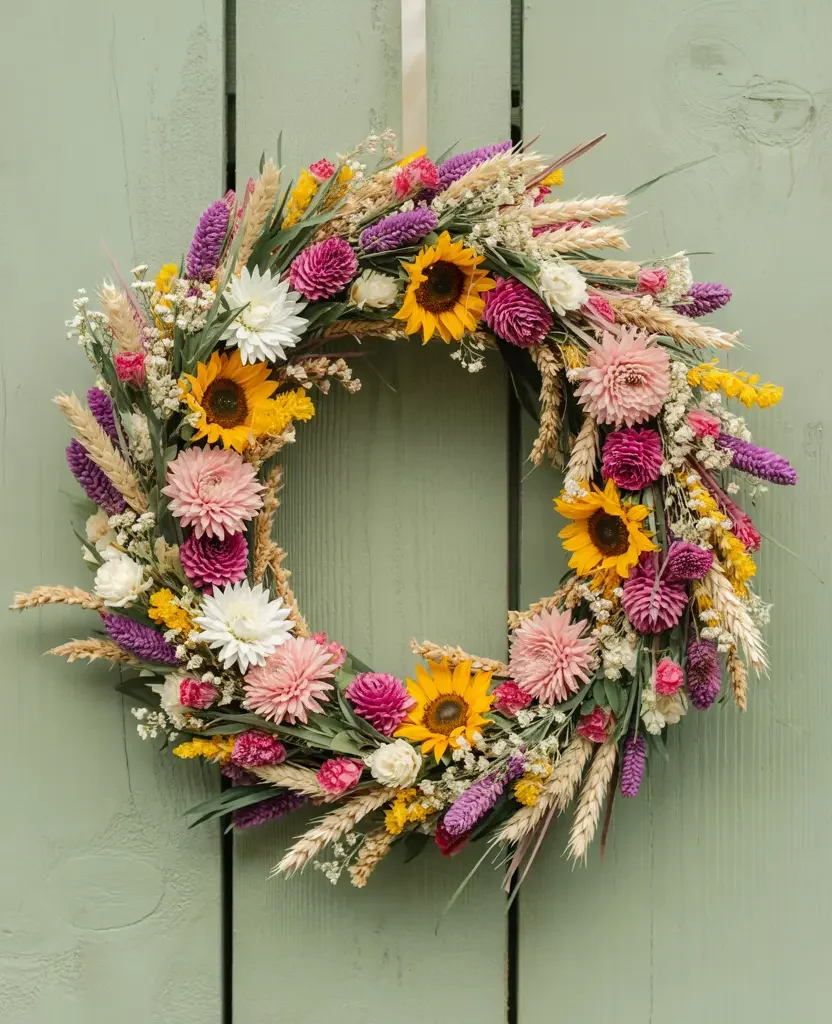
- Materials: wire wreath frame ($3–5), dried flowers and grasses ($8–12), floral wire
- Step 1: Gather dried stems into small bundles of 3–5 stems each, secure with floral wire
- Step 2: Attach first bundle to the frame, covering the wire with the stems
- Step 3: Overlap subsequent bundles to cover the wire attachment of the previous one
- Step 4: Continue around the full frame, varying the materials for texture
- Step 5: Tuck any loose stems back into the wreath and hang with a loop of twine
Project 5: Painted Terracotta Pots ($8–15, 1 hour including drying)
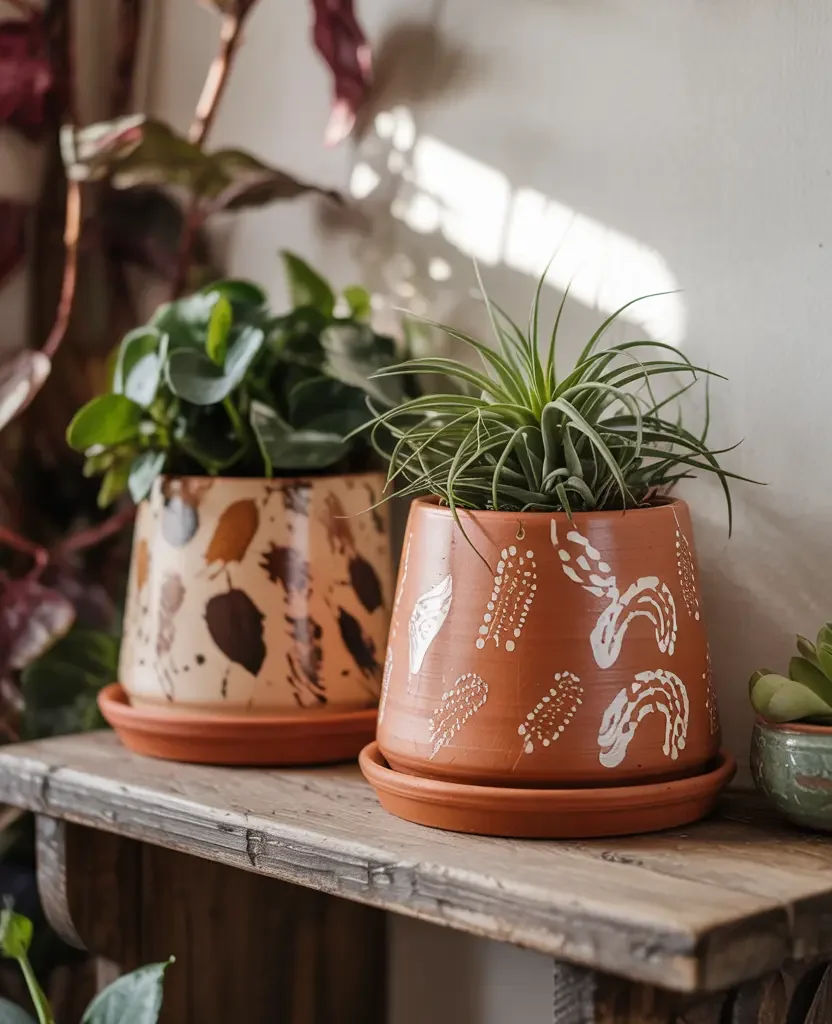
- Materials: plain terracotta pots ($2–4 each), chalk paint or matte spray paint, painter’s tape
- Step 1: Clean and dry pots thoroughly
- Step 2: For a dipped look: tape a line around the pot at one-third height, paint below the tape
- Step 3: For a washed look: thin paint with water to 50% consistency and brush over the full pot
- Step 4: Allow to dry fully (1–2 hours) before planting
Project 6: Spring Pillow Cover From Fabric ($12–20, 1 hour)
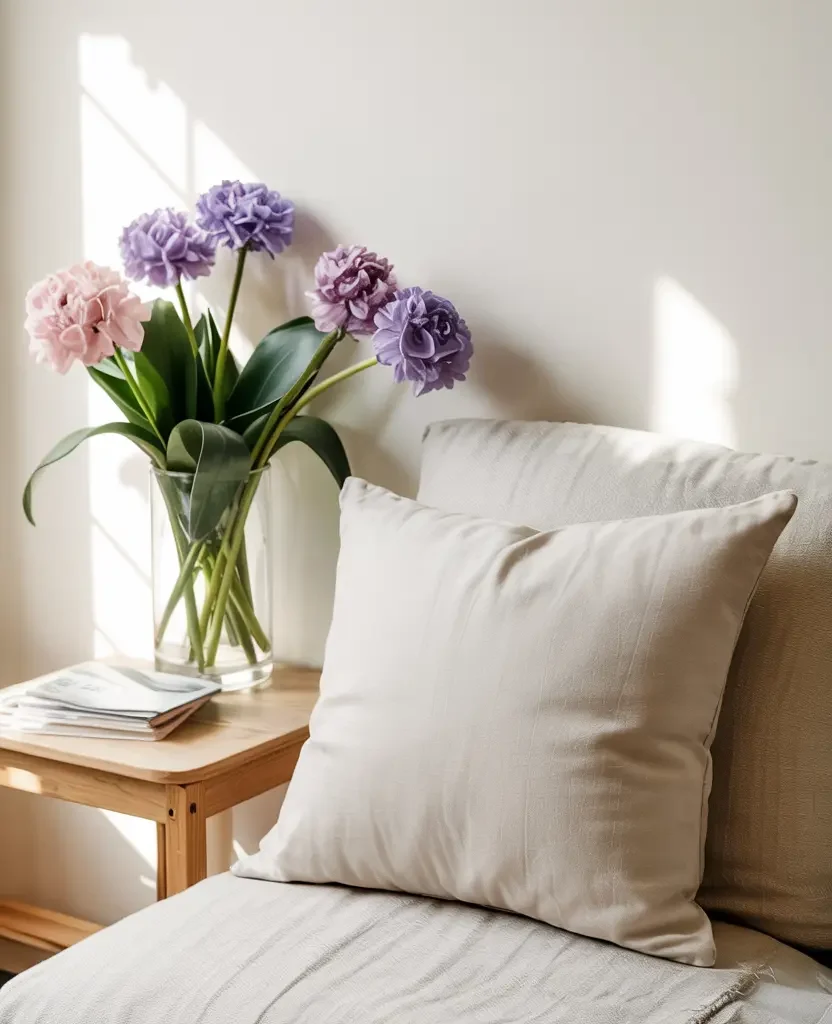
- Materials: half a metre of linen or cotton fabric, needle and thread or fabric glue
- Step 1: Cut fabric to: front piece (pillow size + 1 inch seam allowance), two back pieces (each half the front width + 3 inches overlap)
- Step 2: Hem the inner edges of both back pieces
- Step 3: Layer front piece face-up, then back pieces face-down with overlap in center
- Step 4: Sew or glue all four edges, trim corners, turn right-side out
Spring Decorating Ideas DIY for Shelves & Small Spaces

Shelf styling is one of the highest-impact DIY projects in any spring refresh — and one of the most overthought. The step-by-step process below removes all the guesswork.
- Step 1: Remove everything from the shelf. Everything. Then clean it.
- Step 2: Choose three anchor pieces: one tall (a vase or plant), one medium (a stack of books), one small (a candle or stone)
- Step 3: Place the tall piece first — slightly off-center looks more natural than dead-center
- Step 4: Add the medium piece at a different height — a book stack creates its own height
- Step 5: Add the small piece at the lowest point of the arrangement
- Step 6: Step back and look. Remove anything that feels like too much.
- Step 7: Add one spring-specific element: a small fresh stem, a sprig of eucalyptus, a spring-colored ceramic
The rule for spring shelf styling: if you cannot explain why an item is there, remove it.
Spring Decorating Ideas DIY Centerpieces That Look Designer-Made
The Spring Board Centerpiece ($8–15, 15 minutes)
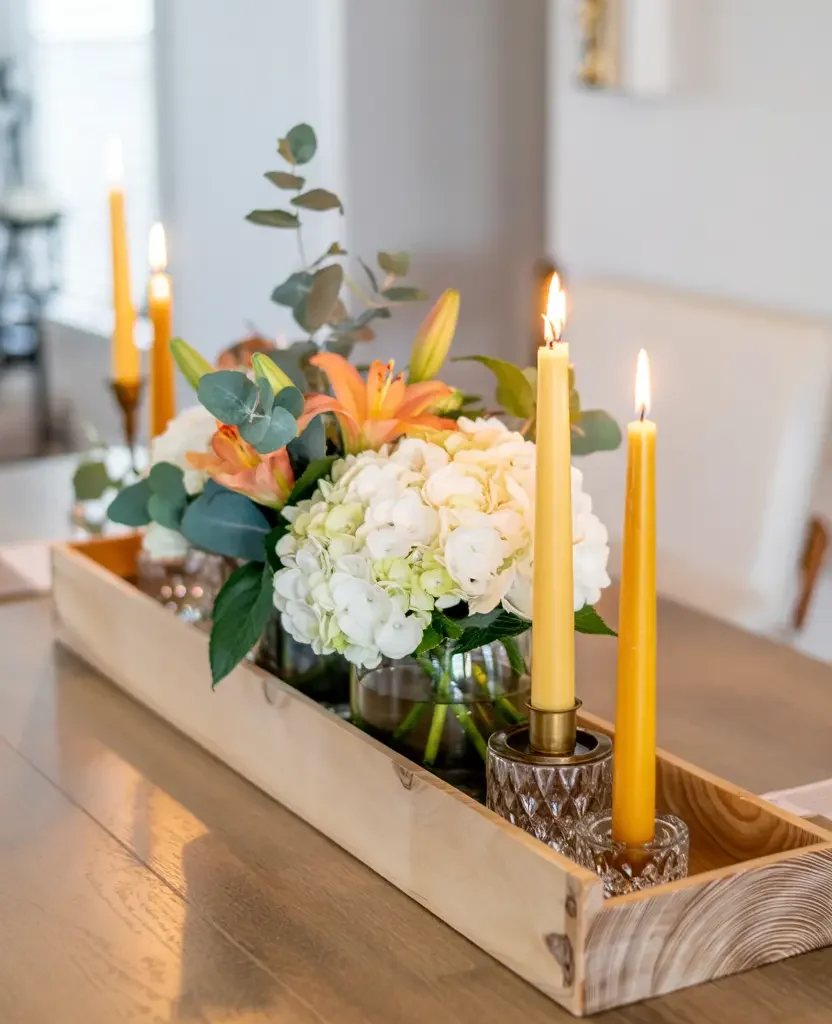
This is the easiest and most versatile spring centerpiece — it works on dining tables, coffee tables, kitchen islands and mantles.
- Materials: a wooden board or tray, 2–3 candles at different heights, a small vase, fresh or dried stems
- Step 1: Place the board slightly off-center on your surface
- Step 2: Arrange candles in a cluster on one side, varying heights
- Step 3: Place a small vase with a few stems on the other side
- Step 4: Scatter a few loose leaves or petals around the base of the candles
The Spring Mantle ($0–10 using existing items, 20 minutes)
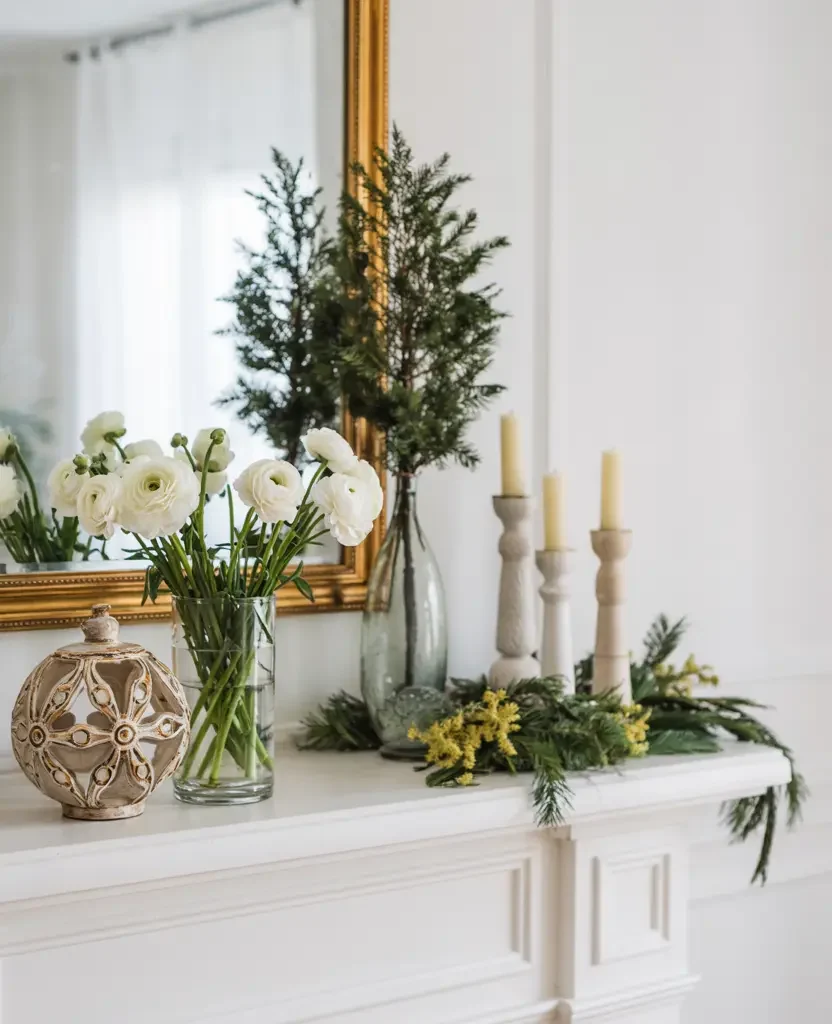
- Start with a clear mantle — remove everything
- Place one large item on one side: a tall vase, a lantern or a plant
- Balance with a smaller item on the other side — not a mirror image, but a counterweight
- Add a horizontal element in the center: a small tray with candles, a single low vase with stems
- Leave the wall above simple — resist the urge to add more
Mistakes to Avoid in Spring Decorating Ideas DIY
The most common DIY spring decor mistakes are easy to avoid once you know what to look for.
- Mistake 1: Adding before editing — always remove before you add
- Mistake 2: Mixing too many colors — spring does not mean adding every spring color you like
- Mistake 3: Buying in matching sets — identical pieces look mass-produced; vary your sources
- Mistake 4: Filling every surface — negative space is a design element, not wasted space
- Mistake 5: Ignoring scent — visual spring decor without a spring scent feels incomplete
- Mistake 6: Perfect symmetry — nature is not symmetrical, and neither is good spring styling
- Mistake 7: Artificial flowers that look artificial — if you can tell they are fake, they are not doing the job
The single biggest DIY spring decor mistake: shopping for new items before you have edited your existing space.
For the complete spring home decor approach across every room and style, visit our Ultimate Spring Home Decor Guide 2026.
Final Thoughts
Twenty-five DIY spring home decor projects, and the truth is that most people only need three or four of them. Pick the ones that match your space, your palette and your available time — and do those well rather than doing everything partially.
The grocery store flower arrangement, the restyled coffee table tray and the edited shelf: these three projects together take less than an hour, cost under $20 and deliver more visual impact than most full shopping trips.
For the complete spring home decor guide — including room-by-room ideas, trend overviews and a shopping guide — visit our Ultimate Spring Home Decor Guide 2026.